Saturday 30 September 2017

Schneemann und Rentier-Boxen

Ich weiß, ich weiß, viele von Euch finden, es ist noch viel zu früh für Weihnachtsbasteleien. Ihr mögt ja recht haben, aber seien wir mal ehrlich: Habt Ihr den letzten Release von Mama Elephant gesehen? Wer kann denn bitte diesen ganzen süßen Wihnachtsstempeln und Stanzen widerstehen? Selbst wenn es noch September ist? Ich jedenfalls nciht!
I know a lot of you think it is too early for Christmas Cards and Christmas Gift Boxes. You might be right but let's be honest: Did you see the last Mama Elephant Release? Who can resist all these super cute Christmas stamps and dies? Even if it is still September? Not me!


Wenn Ihr mehr über den Entstehungsprozess und ein paar Tricks und Tipps zu dieser Karte erfahren möchtet, dann klickt Euch einfach rüber zum Seven Hills Crafts Blog.  
If you want to know everything about the process and a few tips and tricks on making this card, hop over to the  Seven Hills Crafts Blog.

Materialien:
   

Sunday 24 September 2017

Seven Hills Crafts Challenge: Spotlight Technique

Ihr habt noch ein paar Stunden, um bei der Challenge von Seven Hills für diesen Monat mitzumachen und einen tollen Preis zu gewinnen. In diesem Monat ist die Vorgabe: Spotlight it! Ihr müsst also irgendwie einen Bereich Eurer Karte hervor heben - wie, das ist Euch überlassen!
Hier kommt meine Karte!
You still have a few hours left to play along at the Seven Hills Challenge for this month and to win a great prize! This month the challenge is: Spotlight it. Basically you just need to "highlight" one area of your card - how you do it is your decision!
Here is my card:


Saturday 23 September 2017

Happy Hippos

Ich habe mich sofort in My Favorite Things' Happy Hippos verliebt, als sie raus kamen - ich schätze, einigen von Euch ging es ähnlich. Besonders die kleinen Vögel in dem Set sind so süß.
Heute habe ich eine recht einfache Karte mit den Hippos für Euch.
I instantly fell in love with My Favorite Things' Happy Hippos when they were released - I think a lot of you did, too! Esecially the tiny birds in the set are so cute.
Today I have a quite simple card for you featuring those hippos.


Wenn Ihr mehr über den Entstehungsprozess und ein paar Tricks und Tipps zu dieser Karte erfahren möchtet, dann klickt Euch einfach rüber zum Seven Hills Crafts Blog.  
If you want to know everything about the process and a few tips and tricks on making this card, hop over to the  Seven Hills Crafts Blog.

Materialien:
      

Friday 22 September 2017

Sunny Studio Stamps Birthday Blog Hop

Today is a fantastic day: One of the most awesome stamp companies in the market turns two: Sunny Studio Stamps. Apart from Mendi (owner of Sunny Studio Stamps) being such a kind and sweet lady she designs the cutest stamps and dies - all very well thought-out. That is the reason why I am extra happy and proud to be part of the birthday party and blog hop.
You should have arrived from the blog of the lovely and oh so talented Michelle Short. If not you can start this hop on the Sunny Studio Stamps Blog.


On this blog hop we are playing with the new release which is AWESOME. The new release will be available September 29th, but in honor of the birthday  you can pre-order the new products today. You can find them all here.
I've chosen the sweetest set of all of them: Playful Polar Bears. This set is so super cute - I am totally in love with those bears. That's why I couldn't decide which one to use and why I created four cards with all the four bears in the set.

I started by stamping, colouring and fussy cutting all the images in the set (there are coordinating dies available, too) . I kept the design quite simple: I masked of a circle and ink blended a background for each bear trying to match the colours of my colouring.

For this one I used Distress Oxide to create the background. I spritzed on some water for the illusion of falling snow.


In the detail photo you can see I coloured the bear by adding dots with my Copics.


For this card I used an older die - but such a fantasic one. It is the Merry Word die - I love it. And for the background I used a stamp called Snow Flurries.


For this card and the last two I chose sentiments from the set Festive Greetings - love the combination of handlettering words and printed letters.


And the last card features my favorite bear!


The sentiment for this card you can find in the Playful Polar Bears set.

And a birthday party wouldn't be a birthday party without presents. Mendi is kind enough to let us all give away  a $25 gift code (that makes $300 in prizes in total). Just leave a comment on my blog until Monday 11:59 pm PDT and I will draw a winner randomly. The winner will be announced on the Sunny Studio Blog on Friday, the 29th. 

And that's not all:
Sunny Studio will also be offering 15% off on all retail orders using the code "CELEBRATE" through October 1st.


Your next stop on the blog is the awesome Lexa Levana.

Thanks for stopping by and have a lot of fun hopping along.


Saturday 16 September 2017

Happy Crafty Friends Birkas Geburtstags-Blog-Hop

Dear international readers! Today there's no english version of this post. Please use the google translator on the sidebar.

Hach, Ihr könnt Euch gar nicht vorstellen, wie lange wir auf diesen Tag hingefiebert haben. Und jetzt ist er da: der Geburtstag einer der liebsten, lustigsten und herzlichsten Stemplerinnen, die die Bastelwelt kennt: die liebe Birka.
Sie ist der Kleber, der die Stempelwelt zusammen hält. So viele tolle Aktionen gehen auf ihre Kappe: Sie hat die Happy Insta Girls ins Leben gerufen, sie erinnert uns an alle wichtige Termine, damit wir keinen Geburtstage vergessen (passiert mir leider trotzdem viel zu oft), hat im letzten Sommer ein wunderbares Stemplerinnen-Treffen organisiert und so vieles mehr! Ihre Videos kurbeln regelmäßig meine Kreativität an und sind ein Gute-Laune-Garant.
Ich habe ja auch noch das Glück, mit Birka in einer Stadt zu wohnen, so darf ich sie oft live und in Farbe erleben: Birka ist immer gut gelaunt, sooooo lustig und unheimlich herzlich, aufmerksam und großzügig!
So, Birki, ich hoffe, du hast inzwischen rote Ohren, deshalb komme ich mal zu den Fakten:
Das alles sind super gute Gründe, an Birkas Geburtstag etwas ganz besonderes zu machen: nämlich einen pinken Birka-Geburtstags-Blog Hop. Und zu einem Blog Hop gehören natürlich Karten! und wenn es ein Blog Hop für Birka ist, müssen diese natürlich pink sein. Und hier kommt sie nun, die wohl pinkeste Karte, die mein Basteltisch je gesehen hat:


Und? Kennt Ihr das Manatee schon als Stempel? Nicht? Tja, das liegt daran: Extra für Birka haben die talentierten Zeichnerinnen unserer Gruppe ein Stempelset entworfen, das Ihr euch als Digis auf dem Happy Crafty Friends Blog herunterladen  könnt - und zwar gratis!!!

Bild könnte enthalten: Text

Aber es gibt sogar noch mehr Geschenke für Euch (tolle Party, oder?). Wir haben viele grandiose Sponsoren gefunden, die viele tolle Preise für euch gestiftet haben.

Kein automatischer Alternativtext verfügbar.

Ein bisschen was müsst Ihr allerdings für die schönen Sachen auch machen: Nämlich eine Geburtstagskarte für Birka und zwar in Pink (natürlich) und verlinkt sie auf dem Happy Friends Blog innerhalb der nächsten Woche.

Und nun alle zusammen:

Happy Birthday, liebe Birka!

Bild könnte enthalten: 47 Personen, Personen, die lachen

Und nun: Frohes hoppeln und vergesst nicht, euer pinkes Papier zu schwingen!

Oh Hello There

Hin und wieder sage ich mir selbst, ich muss mal wieder eine Karte für einen Mann machen. Das fällt mir schwer, kann ich euch sagen. Sogar wenn ich total "männlich" anfange, lande ich am Ende bei Pailletten, Glitzer und Strasssteinchen.
Bei dieser Karte habe ich ganz gut durchgehalten bis zum Ende - keine Ahnung, wo die pinke Blumen her kommen.
Now and then I challenge myself to make a masculine card! I can tell you I struggle with this! Even if I start with a masculine theme and masculine colours I end up adding sequins or glitter or jewels.
For this card I kept up till the end with the masculine stuff - well, nearly, I have to say. I don't know where these tiny pink flowers came from...


Wenn Ihr mehr über den Entstehungsprozess und ein paar Tricks und Tipps zu dieser Karte erfahren möchtet, dann klickt Euch einfach rüber zum Seven Hills Crafts Blog.  
If you want to know everything about the process and a few tips and tricks on making this card, hop over to the  Seven Hills Crafts Blog.

Materialien:


Saturday 9 September 2017

Merry Christmas

Ich weiß ja, ich komme ganz schön früh mit den Weihnachtskarten, aber bis Weihnachten sind es nur noch 3,5 Monaten - nicht, dass ich Euch stressen möchte.
I know I am a bit early but Christmas is only three and a half months away - don't wanna stress you!


Materialien:


Wenn Ihr mehr über den Entstehungsprozess und ein paar Tricks und Tipps zu dieser Karte erfahren möchtet, dann klickt Euch einfach rüber zum Seven Hills Crafts Blog.  
If you want to know everything about the process and a few tips and tricks on making this card, hop over to the  Seven Hills Crafts Blog.

Thursday 7 September 2017

Guest Designer for Clearly Besotted

Ich bni total glücklich und stolz Gastdesignerin für Clearly Besotted zu sein. Es hat so viel Spaß gemacht, mit diesen tollen und süßen Stempeln zu spielen.
Und ich muss euch sagen Jenny ist soooo großzügig gewesen: Kurz vor meinem Urlaub bekam ich einen risengroßes Stempelpaket. Diese sind gleich mit auf die Reise gegangen, damit ich sie sofort colorieren konnte.
Als ich dann wieder zu Hause war, habe ich die ersten Karten mit meinen Lieblingsmotiven gemacht (und das sagt einiges, denn alle Sets sind so niedlich): dem Schnabeltier (Platypus at Playund der Seekuh (Manatee Mischief). Ich mein: Hallo? Ein Schnabeltier als Einhorn verkleidet (im Set gibt es auch noch eins als Fee) und eine Seekuh mit Blumenkranz? Süßer geht's doch kaum noch!

I am so happy and proud to be guest designer for Clearly Besotted. I had so much fun playing with these cute and beautiful stamps.
I have to tell you: Jenny is beyond generous: I got a big parcel with stamps shortly before I went on vacation. I took the stamps with me and started colouring them.
Back home I started with my favorite (that says a lot because all the sets are so adorable)  images: the platypus (Platypus at Play) and the manatee (Manatee Mischief). I mean - a platypus dressed up as a unicorn (in the set is also a platypus as a fairy) and a manatee with a floral wreath - couldn't get much cuter, could it?


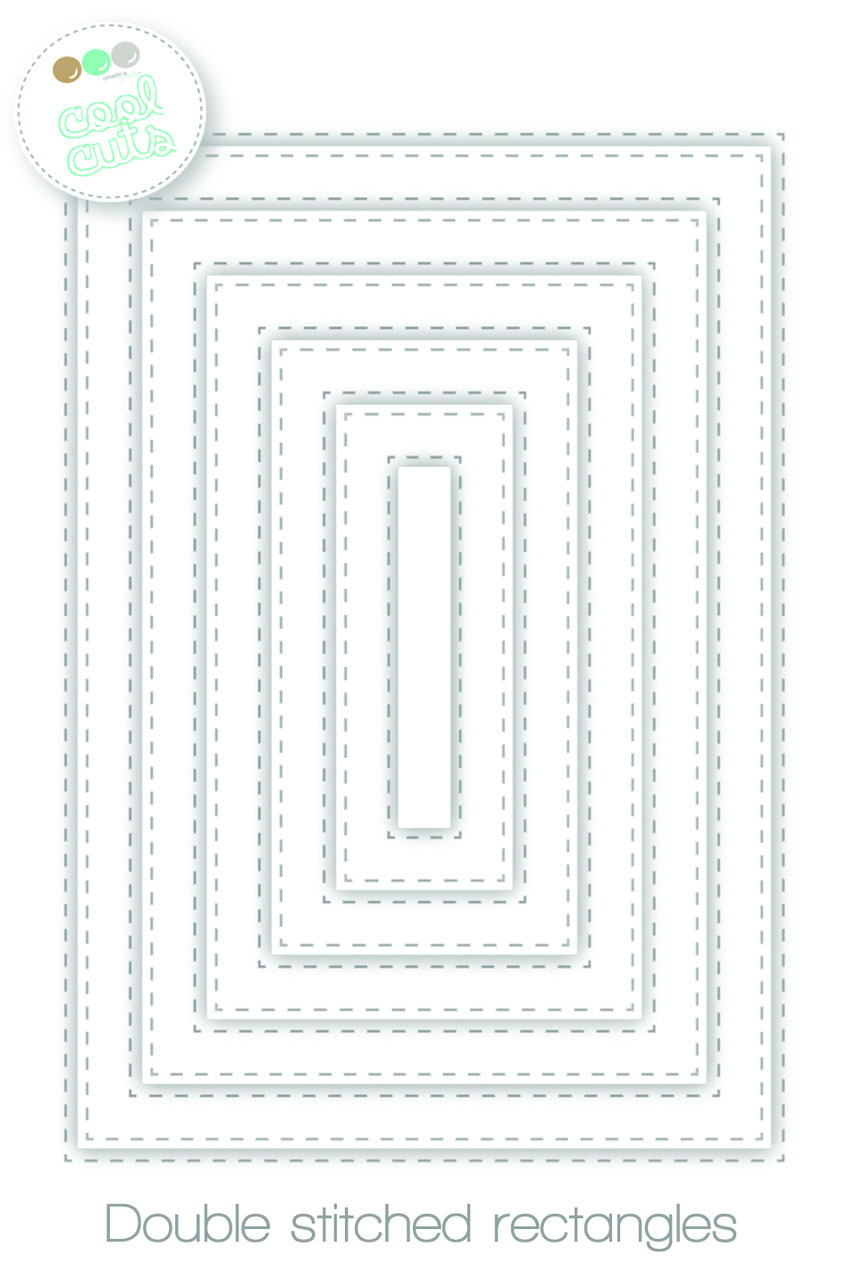
Für meine erste Karte habe ich einen Hintergrund auf Aquarellpapier gestaltet. Ich habe ein Rechteck ausgestanzt und Wasser drauf gespritzt. Dann habe ich Ken Oliver's Color Burst in Pink, Violet and Orange darauf gestreut und es dann in Frieden gelassen (das war das schwierigste).
Während der Hintergrund trocknete, habe ich die Motive ausgeschnitten und den Gruß vorbereitet. Ich habe mich für eine Sprechblase aus dem Set So to Speak (das es gerade im Sale gibt) und Happy Birthday aus dem Set  A Little Setimental entschieden. Beide habe ich in Pink embossed, die Sprechblase ausgeschnitten und das Happy Birthday als Streifen. So hatte die Seekuh einen Platz zum Sitzen.
Und weil die Seekuh schließlich nicht allein feiern sollte, bekam sie ncoh einen Krebs zum Freund aus dem Platypus at Play set.
Dann noch einige Pailletten und die Karte war fertig.

For my first card I created a background on watercolour paper. I die cut a stitched rectangle and spritzed some water on it. Then I sprinkeld Ken Oliver's Color Burst in pink, violet and orange on it and left like it was (the hardest part). 
While the background dried I fussy cut the images and prepared the sentiment. I chose one speech bubble from the set So to Speak (on sale right now) and a Happy Birthday from the set A Little Setimental. I embossed both in pink, fussy cut the speech bubble and cut the Happy Birthday into a stripe for the manatee to sit on. And because the manatee needed a friend to party with I added a crab from the Platypus at Play set.
Some sequins finished up the card.


Für das Schnabeltier habe ich einen Hintergrund mit Alcohol Inks auf Transparentpapier gestaltet. Dieses habe ich mit einem Scallop Rechteck ausgestanzt und dann die Rückseite verwendet - die war ein bisschen dezenter.
For the platypus I created a background with alcohol inks on vellum. I die cut it with a scalloped rectangle die and used the backside for my card - it was a little bit more subtle.


Auch das Schnabeltier bekam einen Papierstreifen zum Sitzen. Und einen Regenbogen-Geburtstagskuchen - was sonst würde ein Einhorn-Schnabeltier essen? 
Für den Text habe ich wieder einen Gruß aus dem  A Little Setimental set gewählt - ich mag die Schriftart total. Damit der Gruß in meine Sprechblase passte, musste ich ihn auseinander schneiden.
I cut a stripe for the platpus to sit on, too, and added a rainbow birthday cake - what else would a platypus unicorn eat? For the sentiment I chose one from the A Little Setimental set again - I love the font. To fit it into my speech bubble I had to cut it.


Wie Ihr sehen könnt, füge ich meiner Coloration gerne Highlights mit einem weißen Gelstift hinzu - ich finde, das macht das ganze lebendiger.
Zum Schluss noch ein paar Glitzersteinchen - und fertig!
As you can see I always add some highlights to my colouring with a white gel pen. I think that brings the images to live.
For the finishing touch I added some jewels.

Ich hoffe, Euch haben meine Karten gefallen und Ihr kommt bald wieder für den zweiten Teil als Gastdesigner für Clearly Besotted.
I hope, you liked my cards and you'll come back soon for my second part as a guest designer for Clarly Besotted.


Wednesday 6 September 2017

Nur mal Hallo sagen

Seid Ihr auch verliebt in die Distress Oxides genau wie ich? Oder sollte ich lieber sagen wie die halbe Bastelwelt?
Are you into Distress Oxides lately? Just like me? Or should I say just like nearly the whole crafting world?


Wenn Ihr mehr über den Entstehungsprozess und ein paar Tricks und Tipps zu dieser Karte erfahren möchtet, dann klickt Euch einfach rüber zum Create a Smile Blog.  
If you want to know everything about the process and a few tips and tricks on making this card, hop over to the Create a Smile Blog.